Epson Perfection 2450 Photo scanner
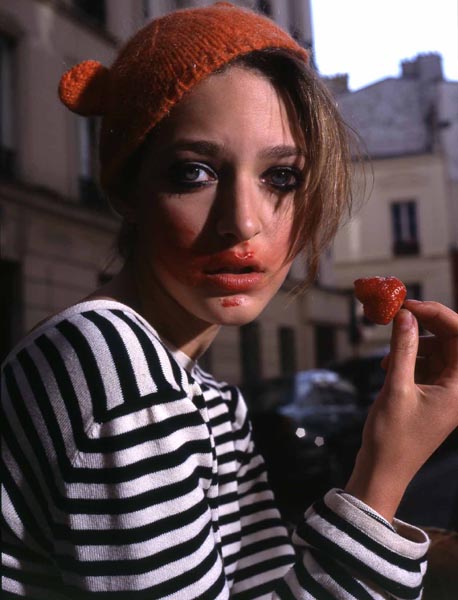
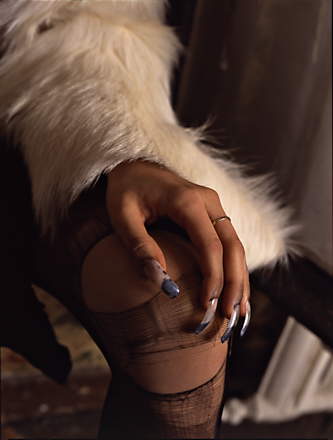
Part 2: additional images by Steven Gilbert and Benjamin Kanarek
by Norman Koren
|
|
In early 2002 Steven Gilbert sent me some samples of a 4x5 negative scanned on his Epson 2450. Since he doesn't have his own website I put up his comments and images here. In March I tested out Dennis Wilkin's Epson 2450 and got much better results than I expected from the previous two sets of images. I bought the the 2450. In December 2002 I added some stunning images by Benjamin Kanarek. My review is on the previous page.
This page contains Steven's and Benjamin's images.
What a happy month in photography since the Epson 2450 arrived! I've used it for about sixty scans. Measured by how much it enables me to extend the possibilities of visual expression, this scanner is remarkable. It successfully digitalizes large-format photography.After Steven figured out how to scan 16 bit B&W using the TWAIN interface, he sent me the following,There may be no sterner technical test than scanning Polaroid type 55 negatives to make black-and-white prints as large as the Epson 1280 printer can turn out. (That's less than 4x magnification; not so stern. --NK) At an effective ASA of 25, this film is the finest-grained readily available (that I know of) for large-format, but it has a short scale, which is tricky to handle. Scanning as carefully as I know how so far (previewing in SilverFast SE, checking the preview for tonal rendition, then adjusting), and printing as well as I know how so far (another ball in the air), the resulting digital prints approach in quality those I made in a traditional darkroom. The resolution does not match that attained by traditional means, but it is close. The tones are actually better for predictable reasons (just usual to you?): digital photography permits greater control of them, especially when time is the limiting resource. Electronic spot removal alone can make such a difference in time as to effectively make available negatives previously out of reach.
While I was working under safelights, I used a 150 mm Schneider-Kreuznach, one of the finest enlarging lenses available in the early 1990s, a cold-light head on the enlarger (Aristo D-2), and a temperature-compensating development timer to keep things consistent (records in a notebook helped, too). I printed first on Oriental Seagull, later on Zone VI's chock-full-of-silver paper. My copy of Adams' The Print is appropriately stained. Maybe I was more fussy than skilled in the darkroom, but I did buy the best supplies and equipment I could afford and did strive to perfect my craft, yet the new scanner takes me to a new level in precisely that.
This machine excels in another measure. A year ago I took a demanding large negative (filled with renditions of tiny bubbles in ice, many of them illuminated discernibly on one side or the other) to a commercial lab. I asked for the best in-house scan, $30 for "five passes," whatever that means. The results were sufficient for an 8x10 inch print at best. The Epson scan of the same negative is magnitudes better.
The typical image surface area of a scan of a type 55 negative is 3.6 x 4.5 inches (slightly larger for Tri-X). Because a review on the web indicated the scanner has an effective limit of 1600 dpi, I set SilverFast to this resolution. The typical result is a file of 7100 x 5700 bytes, 120 MB. Although my computer runs at 1.5 gigahertz and has 512 RAM, these files are unwieldy, often requiring forty-five seconds to perform an operation like sharpening. After editing, and with the print size at 12 x perhaps 16 inches, and resolution set at 720 dpi, the file can balloon to 300 MB. Printing typically takes twenty minutes, and one took an hour, but who cares? I just turn to other work (although not on the computer) and let the printer grind on - as long as the system does not balk or even crash, which it does too often with such monsters. How does one reliably make large, high-resolution prints without overloading the computer, regardless of the negative's size? (You don't need to resize the image for printing with Picture Window Pro; it may not need it with Photoshop either. The image editor and printer driver takes care of optimizing resolution. 720 dpi is extreme overkill; 300 dpi is still ultra-sharp. You should set the printer to 1440 dpi for the best sharpness and tonality. --NK)
I have experimented with various modes of scanning, setting the scanner to first b&w, then color, and then changing the color depth. The b&w scans were terrible, even at 16 bits, as compared with the color scans at 24 bits. On the other hand, 48-bit files for negs of this size and fine grain are impossible. One try produced a file of 1,100 MB! It took an hour to do one operation on it. And Windows XP, otherwise admirably stable, eventually froze up while struggling to handle it.
So I am achieving the best results so far by scanning b&w negs as if they were color negs at 24 bits. This process has a pleasing but also troubling side-effect. The images all have a sepia tinge although I set SilverFast to remove any tint. What photographs strove to attain (for archivalness as well as tone, of course) with an evil-smelling selenium bath now just happens. If only the cast were subtle and consistent! So far, I cannot make it either despite repeated efforts using PictureWindow's color balancing procedure.
Large format requires great efforts at photographic quality and can reward them just as greatly. I do have much to learn and bugs to work out, but with the Epson scanner, I am coming closer to my goal of reprinting my whole large-format portfolio.
When I tested Silverfast, I found no way to prevent the program from automatically paring files down to 8 bits, so I persisted with 24-bit color images of b&w negatives. I overlooked the capability of the twain program by Epson to make 16-bit b&w images. Now that I have corrected that mistake (for which I have paid dearly in time), I have starting using the twain program to produce new prints from the same negatives as before, prints that, compared with prints made from 24-bit color files, are better. Not only are the images larger for a given file size, around 9k x 7k pixels, but print resolution and gradation also look better.
 |
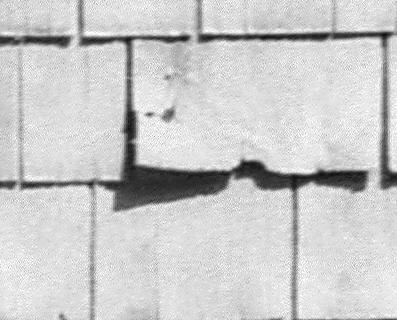 |
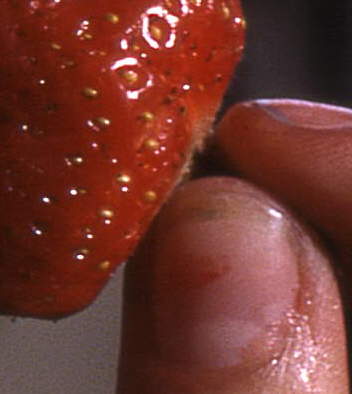
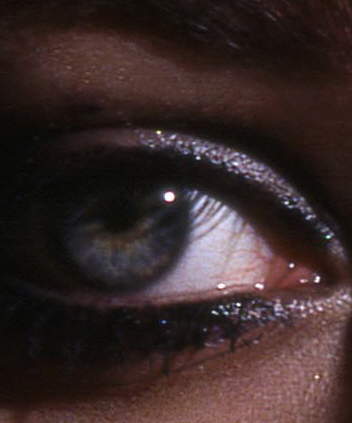
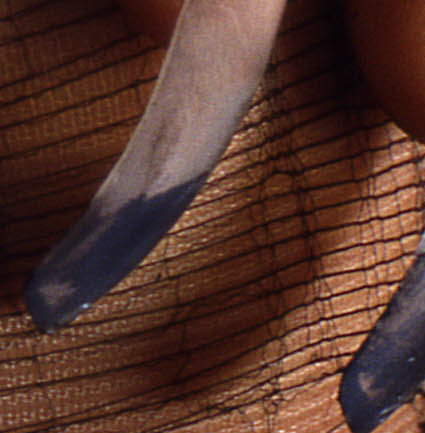
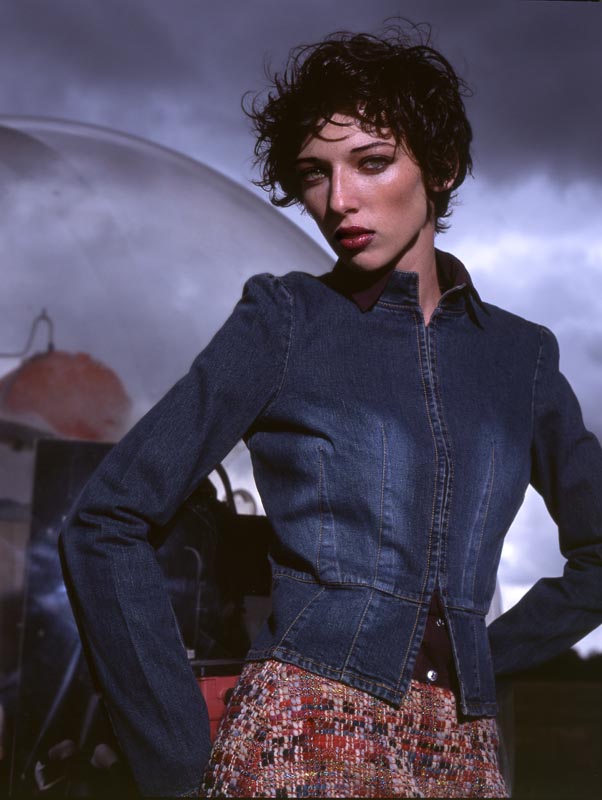
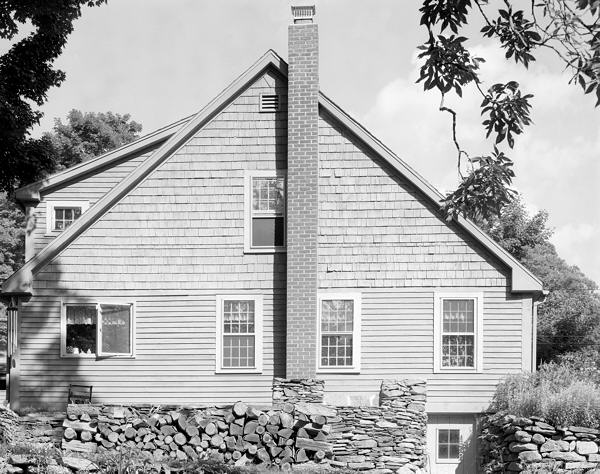
From Steve's image the Epson 2450 appeared to be very nice but not as sharp as a dedicated 2400 dpi film scanner. This image benefited from sharpening. The image on the right was sharpened in Picture Window Pro using Unsharp Mask with Amount = 100%, Radius = 3, Threshold = 8. It's sharp enough to make an excellent 24x30 inch print (that's just over 6x magnification)-- much larger than my Epson printer can go. It should be adequate for 32x40 inches big. The 1:1 crop may not look very sharp (it isn't), but at a typical screen resolution of 75 dpi, the total image (about 10800 pixels horizontal) at this magnification would be 144 inches (3.6 meters) wide. My test with Dennis Wilkins' 2450 definitely came out sharper. The 2450 has an impressive sweet spot for 4x5. It's a remarkable scanner for the price.
|

| Images and text copyright © 2000-2013 by Norman Koren. Norman Koren lives in Boulder, Colorado, where he worked in developing magnetic recording technology for high capacity data storage systems until 2001. Since 2003 most of his time has been devoted to the development of Imatest. He has been involved with photography since 1964. |  |